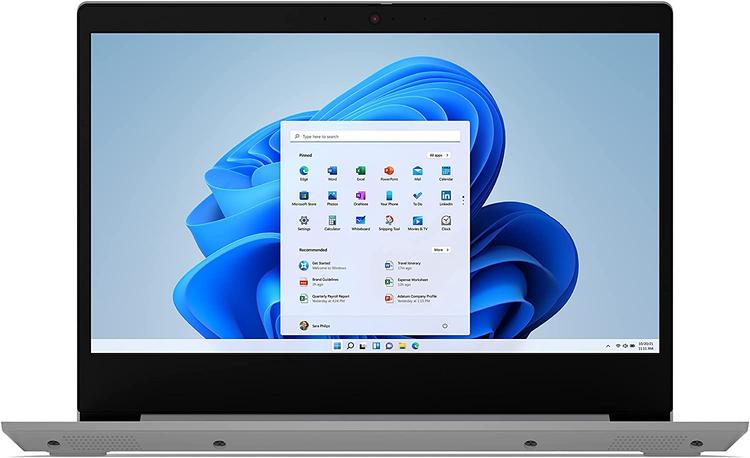
Windows 11 may have been found to be a little buggy, but some of us want to use the shiny new OS regardless. Unfortunately, the stringent system requirements—including TPM 2.0—meant many unlucky PC owners with older machines were locked out of the Windows 11 party.
Microsoft announced the seemingly strict TPM requirements for Windows 11 a while back, and then spent months trying to dissuade users from installing it on unsupported hardware. But while the front door has been slammed in our faces and sealed shut, it seems there's another way in.
Since then, truckloads of people have been throwing out TPM requirement workarounds. In fact, so many bypass attempts have surfaced that Microsoft itself seems to be inviting us to crash the party, having now revealed how to bypass its own requirements (and making sure to absolve itself of all possible responsibility, of course).
Here's how to ensure you can install Windows 11 regardless of your TPM situation.
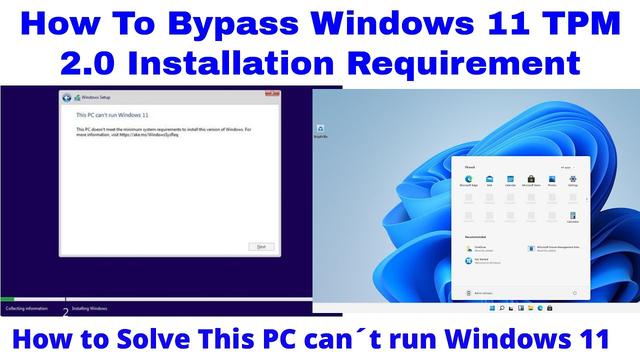
How to enable TPM 2.0 in Windows 11
If you haven't already, now's the time to download Microsoft's PC Health Check app to check if your system is eligible to upgrade to Windows 11. If you're being denied entry, it's worth noting that you may already have TPM 2.0 on your system and you just need to enable it.
To check your TPM version and enable it, pressWin+R, then pastetpm.mscin the box,and hitEnter.
In the Trusted Platform Module Management window, check theSpecification version. If you have version 2.0 but the Status is telling you it isn't ready, simply clickPrepare the TPMunderActions, at the top of the righthand sidebar.
That should enable the TPM almost instantly, and you'll now be ready to install Windows 11 or upgrade from your Windows Update menu.
As long as the version showing is TPM 1.2 you can follow the steps below to get Windows 11 working anyway—and thankfully that will cover a lot more machines than TPM 2.0 does.
A simple tweak to bypass Windows 11's TPM 2.0 requirement
While the first unofficial TPM bypasses involved downloading software from Github, the one Microsoft itself dished out is fairly simple. Just pressWindows+R, and typeregedit to get the Registry Editor up.
From there, navigate toHKEY_LOCAL_MACHINE\SYSTEM\Setup\MoSetup from the top bar, and right-click the main panel, selectingcreate a new DWORD (32-bit) Value.
Call itAllowUpgradesWithUnsupportedTPMOrCPU and set itsvalue to 1.
Simple. Congratulations: you're now eligible for the Windows 11 upgrade.

